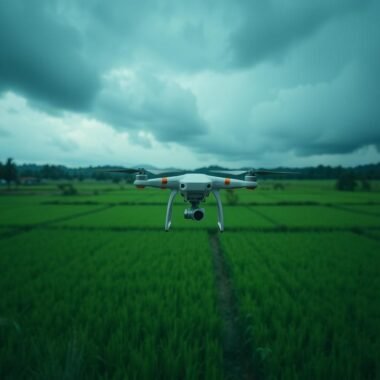
Introduction: Why Drone Camera Settings Matter
Flying a drone is exciting, but capturing smooth and cinematic footage requires more than just hitting the record button. Automatic modes can be convenient, yet they often limit creativity. That’s where learning the right drone camera settings comes in. With Flexnova drones, beginners in India can unlock professional-quality shots by mastering simple adjustments like ISO, shutter speed, aperture, and filters. This drone camera settings guide will show you how to move from auto to manual with confidence, giving your aerial photography and videos the polished look they deserve.
Understanding the Exposure Triangle for Drone Cameras

At the heart of all essential drone camera settings lies the exposure triangle. It’s the relationship between ISO, shutter speed, and aperture. Think of it as the balance between light and motion. When you get this right, your drone footage goes from average to cinematic. Let’s break it down in beginner-friendly terms:
ISO: Sensitivity to Light
- What it means: ISO measures how sensitive the camera’s sensor is to light.
- Analogy: Imagine it like the brightness setting on your phone. Higher ISO brightens the image but also adds “grain” or noise.
- Best practice: Keep ISO as low as possible (100–400) for clean and sharp drone photos.
Shutter Speed: Controlling Motion Blur
- What it means: Shutter speed determines how long the camera sensor is exposed to light.
- Analogy: It’s like the blink of your eye. A quick blink (fast shutter) freezes motion, while a slow blink (slow shutter) captures motion blur.
- Best practice: Follow the 180-degree rule. For example, if you shoot at 25fps, set shutter speed to 1/50.
Aperture: The Camera’s Pupil
- What it means: Aperture controls how wide the lens opens to let in light.
- Analogy: Think of your eye’s pupil. In bright sunlight, it contracts; in darkness, it expands.
- Best practice: For drones with adjustable apertures, f/2.8 is great for low light, while f/5.6 or higher works in daylight.
By practicing these three elements together, you’ll develop a strong foundation in drone photography settings. To learn more about creative angles and styles, check out 10 Creative Drone Photography Ideas for Indian Landscapes.
ND Filters: Sunglasses for Your Drone Camera

One of the biggest challenges drone pilots face is shooting in bright Indian sunlight. To follow the 180-degree rule, you need slower shutter speeds. But slowing down without overexposing requires ND filters for drones. These filters act like sunglasses, reducing the amount of light that enters the lens.
- ND4: Best for cloudy conditions.
- ND8–ND16: Great for moderately bright days.
- ND32 or higher: Perfect for harsh midday sunlight in India.
Using Flexnova drones with ND filters allows smoother cinematic motion while keeping the right exposure. If you’ve ever seen drone footage that looks too sharp or “video-like,” chances are the pilot skipped ND filters. In fact, Skylark Drones notes that ND filters are among the most overlooked tools in aerial cinematography.
Other Key Drone Camera Settings Beginners Must Know

Apart from the exposure triangle, several other drone video settings make a big difference in how your footage looks. Let’s cover the most important ones:
Resolution and Frame Rate
- Resolution: Always choose 4K when possible. Even if you edit for Full HD, 4K offers flexibility for cropping.
- Frame Rate: For cinematic looks, stick to 24fps or 25fps. For slow motion, go with 60fps or 120fps.
White Balance
Instead of leaving it on auto, set your white balance manually. For daylight in India, 5500K works well, while early mornings or evenings may need around 3200–4500K.
Color Profiles
- D-Log: Best for advanced editing and color grading.
- Normal: Perfect for beginners who want good results without post-processing.
For more ideas on framing and capturing Indian culture with drones, see Capturing the Beauty of India: A Guide to Drone Videography.
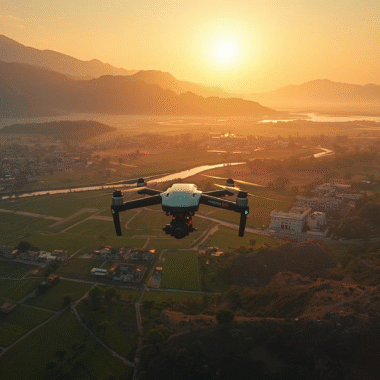
Practical Tips for Shooting in Different Conditions
India offers diverse shooting conditions, from sunlit beaches in Goa to misty mornings in Himachal. Here are some practical drone camera tips to handle them:
Bright Daylight
- Use ND16–ND32 filters.
- Set ISO to 100.
- Follow the 180-degree rule for natural motion.
Low Light or Night Shots
- Widen aperture to f/2.8 if possible.
- Increase ISO cautiously (up to 800).
- Use slower shutter speeds but watch out for blur.
Cloudy or Foggy Weather
- ISO 200–400 works best.
- Avoid ND filters unless brightness demands it.
- Adjust white balance to 6000–6500K for a warmer feel.
Each environment has its quirks, but with practice, your manual settings for drones will become second nature.
Why Shooting in Manual Mode is a Game Changer
Many beginners wonder: why not just use Auto? The answer is control. Shooting in manual mode gives you consistency and creativity. With automatic settings, your drone may shift exposure mid-shot, ruining smooth video. By learning how to set drone camera manually, you ensure professional results every time.
Flexnova encourages drone pilots in India to start experimenting with manual mode early. It may feel intimidating at first, but it quickly becomes rewarding. To make editing easier, check our guide on Easy Video Editing for Drone Footage on Your Smartphone.
FAQs on Drone Camera Settings
What are the best drone camera settings for beginners?
Keep ISO at 100, follow the 180-degree shutter speed rule, and use ND filters in bright light. Start with Normal color profile until you’re comfortable with editing.
Which frame rate is best for cinematic drone footage?
24fps or 25fps gives a cinematic look. Always double your frame rate when setting shutter speed (e.g., 1/50 for 25fps).
Do I need ND filters for every flight?
Not always. ND filters are crucial for sunny conditions, but in low light or cloudy weather, you may not need them.
How can I reduce noise in low-light drone shots?
Keep ISO as low as possible and widen the aperture. Avoid pushing ISO beyond 800 to maintain clarity.
Should I always shoot in 4K?
Yes, when storage allows. 4K offers flexibility in editing and ensures sharper results, even if exported in Full HD.
Conclusion: Take Control of Your Drone Footage
Learning drone camera settings may seem technical, but once you master ISO, shutter speed, aperture, and ND filters, you unlock cinematic storytelling. With Flexnova drones, Indian pilots can capture stunning landscapes, cultural celebrations, and everyday moments with ease. Ready to step up your aerial shots? Visit Flexnova Homepage and start experimenting with manual settings today.