No products in the cart.
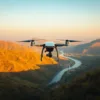
Beyond the Basics: How to Get Cinematic Shots with a Budget Drone
Beyond the Basics: How to Get Cinematic Shots with a Budget Drone
You see those breathtaking drone shots in movies and travel videos and think, “I could never do that with my drone.” Think again! The secret to getting stunning cinematic shots with budget drone is not about having the most expensive gear. It’s about how you fly, how you set up your camera, and how you edit. This guide will show you how to unlock the true potential of your equipment and achieve stunning affordable drone video tips to make your footage look professional. We’ll cover key drone camera settings for cinematic video and essential drone editing tips for cinematic look, all while focusing on practical cinematic drone movements. Let’s make your videos stand out. Flexnova is here to help you see the world differently.
The Real Secret: It’s All in the Movement
Hollywood directors use specific camera movements to create emotion and drama. You can do the same with your drone. The key is to fly slow and smooth. Jerky, fast movements are the biggest giveaway of an amateur video. Practice these moves to get cinematic footage with a cheap drone.
1. The Slow Push In (or Pull Out)
This is a simple but powerful move. Slowly and smoothly fly your drone directly towards your subject (Push In) or away from it (Pull Out). This movement draws the viewer into the scene or reveals the context around a subject, adding a layer of storytelling.
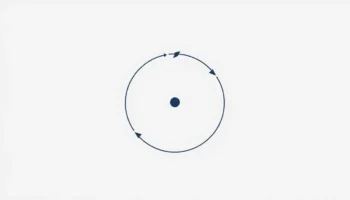
2. The Parallax Orbit (The “Circle”)
Instead of just circling a subject, create depth. Fly in a circle around your subject while also keeping the camera pointed at it. This makes the foreground and background move at different speeds, creating a beautiful 3D effect that feels incredibly professional.
3. The “Dolly Zoom” (Vertigo Effect)
This advanced trick creates a disorienting, dramatic effect. While flying towards your subject, simultaneously zoom out (if your drone has optical zoom). For drones without zoom, you can simulate this in editing by cropping the video as you push in. It takes practice but looks amazing.
Master Your Camera Settings for a Cinematic Look
Auto mode is easy, but manual mode is where the magic happens. Taking control of your camera is the biggest step toward cinematic drone videography.
The 180-Degree Shutter Rule: Your Best Friend
This is the most important technical rule for cinematic video. It ensures your motion looks smooth and natural, not choppy or blurry. The rule is simple: your shutter speed should be 1 divided by (2 x your frame rate).
- Filming at 30fps? Set your shutter speed to 1/60th of a second.
- Filming at 25fps? Set your shutter speed to 1/50th of a second.
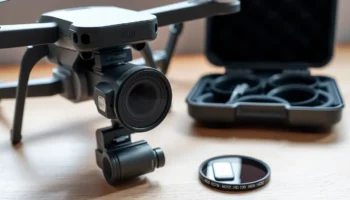
Why You Absolutely Need an ND Filter
On a sunny day, following the 180-degree rule will make your video too bright. This is where an ND (Neutral Density) filter comes in. It’s like sunglasses for your drone’s camera. It reduces the amount of light entering the lens, allowing you to use that slower, cinematic shutter speed (like 1/60) even in bright conditions. This is the #1 accessory for budget drone cinematic videography.
Shoot in a Flat Color Profile
Many drones have a color setting like “D-Cinelike” or “Flat.” This makes your footage look dull and washed out on purpose. Why? It preserves more details in the shadows and highlights, giving you much more flexibility to make the colors pop during editing. For more on settings, see our guide on essential drone camera settings.
The Magic Happens in Editing: Post-Production Tips
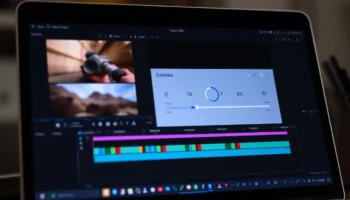
Your raw footage is just the beginning. Editing is where you weave your clips into a story.
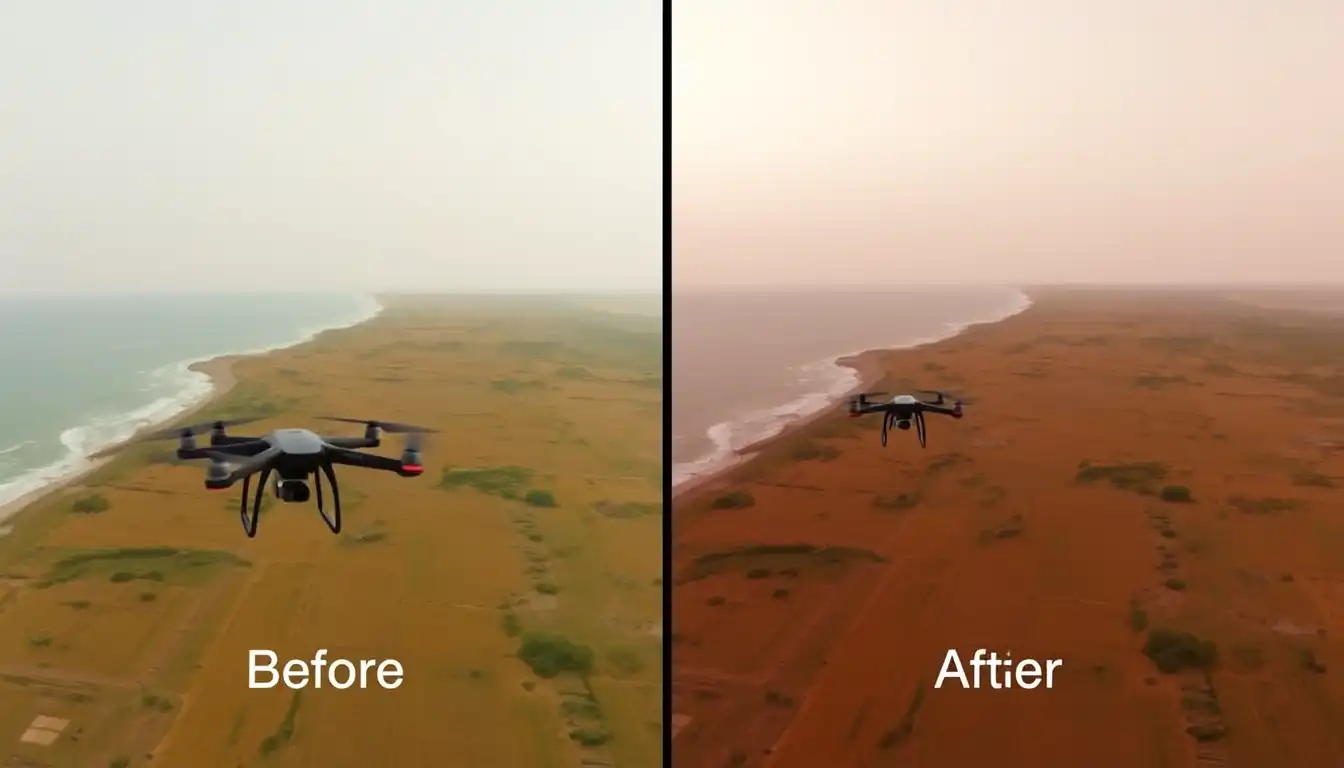
Color Grading: From Flat to Fantastic
If you shot in a flat profile, now is the time to bring it to life. Use your editing app to:
- Increase Contrast: Make the darks darker and the lights lighter.
- Boost Saturation: Make the colors richer (but don’t overdo it!).
- Adjust Color Balance: Make the whites look truly white and give your video a warm or cool feeling.
Add Cinematic Black Bars
This is a simple trick with a huge effect. Adding black bars to the top and bottom of your video (to create a 2.35:1 or 16:9 aspect ratio) instantly makes it feel more like a movie. You can do this easily in any editing app.
Sound Design is Key
Drones don’t record good audio. The sound of your video is 50% of the experience. Always add a fitting music track and consider adding subtle sound effects (like wind, waves, or ambient noise) to make the scene feel more real and immersive. For editing on your phone, we love these easy mobile editing apps.
FAQs on Getting Cinematic Drone Footage
What is the most important accessory for cinematic drone video?
Hands down, a set of ND filters. They allow you to control your shutter speed and achieve the smooth, cinematic motion blur that makes footage look professional. Without them, it’s very difficult to follow the 180-degree rule on a bright day.
Do I need to shoot in 4K to get a cinematic look?
While 4K gives you more detail and flexibility to crop your shots, you can absolutely get a cinematic look with 1080p footage. The techniques—smooth movement, proper shutter speed, good color grading—are far more important than raw resolution.
How can I make my drone flights smoother?
Use your drone’s “Tripod” or “Cine” mode if it has one. These modes slow down the drone’s speed and sensitivity for ultra-smooth movements. Also, practice using gentle, small movements on the control sticks. It’s all about finesse, not force.
Can I create cinematic videos with a cheap drone under ₹20,000?
Yes, absolutely. Many modern budget drones have excellent cameras capable of shooting in 4K and have gimbals for stability. The limiting factor is rarely the camera itself—it’s the pilot’s knowledge of these cinematic techniques. The best camera is the one you know how to use well.

Related posts

Master Aerial Selfies: A Guide to Drone Portrait Photography Forget arm’s-length selfies. It’s time to take your portraits to new heights—literally. Drone portrait photography is...
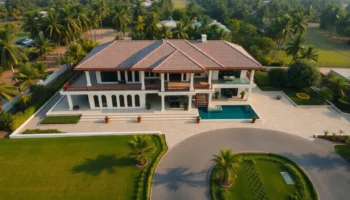
Introduction: Why Real Estate Needs a New Perspective In India’s busy property market, it’s hard to make a listing stand out. Regular photos show rooms...

Introduction: The Challenge of Flying Drones in Indian Weather Flying drones in Indian weather can be exciting, but it also comes with challenges. From heavy...

Introduction: Why Drone Camera Settings Matter Flying a drone is exciting, but capturing smooth and cinematic footage requires more than just hitting the record button....

Introduction You’ve just landed after an amazing flight, and your drone’s memory card is full of stunning aerial shots of India’s landscapes. Now what? You...
Add comment
You must be logged in to post a comment.